
Oggi posto un tutorial per una scatola un po' particolare, che ho usato per regalare questa targa ad una amica...
Hello everyone,
Today I'm posting a tutorial for a little box that I used for this gift, for a special friend...

Questo è il pattern di base, con le misure:
This is the pattern with all the measurements:

In pratica prendete un cartoncino del colore che preferite 42 cm x 30 cm e fate delle pieghe a 9 cm e 12,5 cm. Io uso la Scoreboard di Martha Stewart, che ha una dimensione di circa 30 x 30 cm, quindi per fare le pieghe all'altra estremità giro il foglio e ricomincio con una piega a 9 cm ed una a 12,5 cm.
Basically take a piece of cardstock, your choice of colour, 16 1/2 " x 12" and score at 3 1/2" and 5".
I use the MS Scoreboard which is 12 by 12 inches, so in order to score the other lines, just flip the cardstock and score at 3 1/2" and 5", again!
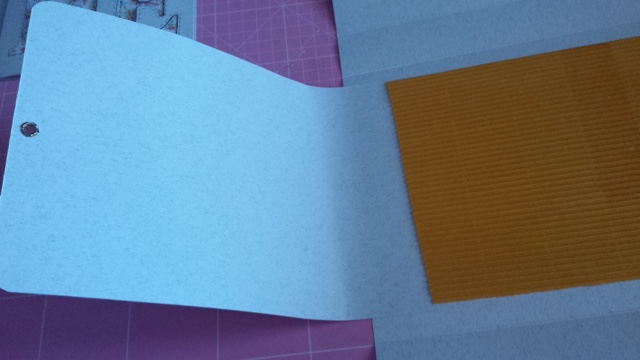
Pieghiamo per dare una prima forma e passiamo alle 'alette'...
Fold on scored lines and give a good crease, then unfold and let's move to the 'flaps'...
Prendere 2 pezzi di cartoncino alti 16,5 cm e lunghi 20 cm (l'altezza dipende da voi: io li ho fatti più corti rispetto allo spazio tra le pieghe, cioè 15 cm, lasciando uno spazio quando le alette si chiudono, e poi li ho centrati...)
Take 2 strips of cardstock height 6 1/4" and lenght 8" (the height depends on you: I cut them a little shorter leaving a gap when the flaps are closed, and then centered them...)
Attaccare le alette alla base, arrotondare gli angoli, se volete, a vostra scelta, fare un buco ed inserire un occhiello in entrambe.
Tape down the flaps to the base, round the corners if you like it, it's up to you, then punch a hole and set an eyelet in both of them.
Ci siamo quasi! We are almost there!
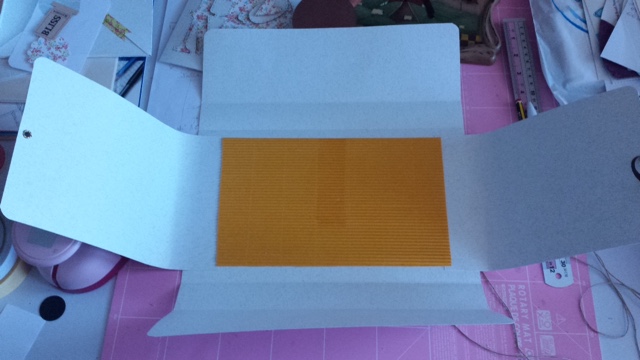
Per coprire la base, attaccate del cartoncino decorato, o quello che più vi piace! Io ho usato del cartoncino ondulato.
In order to cover the inside base, tape a piece of designer paper, or whatever you may like! I used a scrap of corrugated cardstock.
Ehmmm....si lo so...sono una confusionaria....
I know....I'm too messy.....
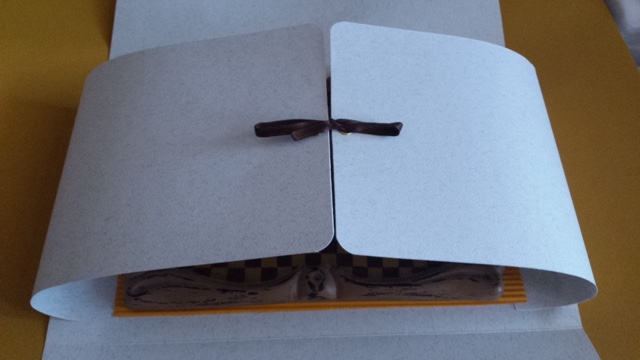
Ora è venuto il momento di chiuderla! Usate del nastro o spago a vostro piacimento, facendolo passare attraverso gli occhielli, e poi fate un fiocchetto.
Now it's time to close it up! Use some ribbon or twine, as you like it, through the eyelets and then make a cute bow.
Adesso ripiegate gli altri lati della scatola e decorate a vostro piacimento!
Now fold in the other sides of the box and decorate at your heart's content!
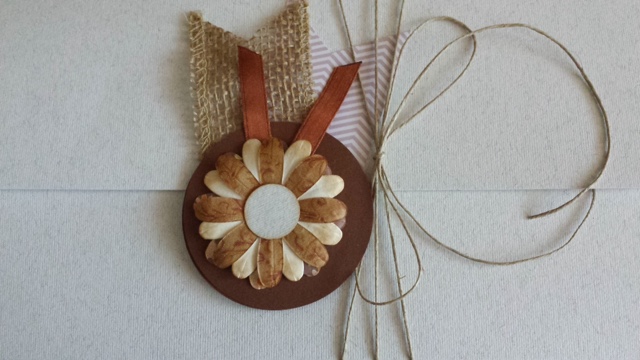
Io ho usato 2 cerchi tagliati con un fustellatore, dei fiori tagliati con una fustella Sizzix, un pezzo di nastro di juta ed un cartoncino ritagliati a 'banner' e del nastrino di raso.
Intorno alla scatola alcuni giri di spago e....Voila'!!!
I cut 2 circles with a punch, then few flowers with a Sizzix die, added a piece of burlap ribbon and a piece of cardstock both cut at the end to shape a 'banner' and some silky ribbon. All around the box few strands of twine and....Voila'!!!
Spero questo tutorial vi sia piaciuto e se volete, lasciate un commento...mi farà molto piacere!
I hope you enjoyed this tutorial and, if you want, leave a comment....I'll be very glad!
Kisses&Hugs y'all!!


